Authentication in Your Django Project
Authentication is a crucial aspect of any web application, as it controls access to different parts of your system, ensuring that only authorized users can perform certain actions.
Authentication System Overview
Materialize utilizes Django's built-in django.contrib.auth to handle user authentication. This module equips you with everything you need to create, manage, and authenticate users, including models for users, views for common authentication operations, and forms for managing login, registration, and more.
When you start a new Django project using the django-admin startproject command, the settings
in your project's settings.py file are generated with some default configurations. The
django.contrib.auth app is a built-in Django app, and its settings are typically included by
default in the generated settings.py file.
Authentication
full-version/,
if you wish to integrate it in starter-kit/ you can follow this documents and integrate it.
Folder Structure
full-version
├── 📂 auth
│   ├── 📂 forgot_password
│   │    └── 📄 views.py                               > Contain logic for forgot password feature.
│   ├── 📂 login
│   │   └── 📄 views.py                                > Contain logic for login feature.
│   ├── 📂 register
│   │   └── 📄 views.py                                > Contain logic for register feature.
│   ├── 📂 reset_password
│   │   └── 📄 views.py                                > Contain logic for reset password feature.
│   ├── 📂 verify_email
│   │   └── 📄 views.py                                > Contain logic for verify email feature.
│   ├── 📄 urls.py                                     > Url for authentication feature.
│   ├── 📄 views.py                                    > Base view file .
│   ├── 📄 models.py                                   > Contain Profile Model.
│   └── 📄 helpers.py                                  > Contain functions to send mail .
└── 📂 templates
    └── 📂 auth                                        > Contain Auth pages HTML
        ├── 📄 forgot_password.html
        ├── 📄 login.html
        ├── 📄 register.html
        ├── 📄 reset_password.html
        └── 📄 verify_email.html
User Model
This template, user data is managed using the built-in user model provided by django.contrib.auth. This model serves as the foundation for user account management.
class Profile(models.Model):
    user = models.OneToOneField(User, on_delete=models.CASCADE, related_name='profile')
    email = models.EmailField(max_length=200, unique=True)  # Use unique=True for unique email addresses
    email_token = models.CharField(max_length=200)
    forget_password_token = models.CharField(max_length=200)
    is_verified = models.BooleanField(default=False)
    created_at = models.DateTimeField(auto_now_add=True)
Login
The login feature allows Client to enter their credentials (username/email and password) to access protected areas of your application. When they log in successfully, they gain access to their personalized content.
Implementation
You can find the login view in auth/login/views.py. The Login View inherits its basic structure
from a base view located in auth/views. We have customized the get and post methods of the
Login View to tailor its behavior for our specific requirements. This approach allows for a clean and
structured implementation of the login functionality in our Django project.
Here's how you can use or extend the base view in other views:
-
Base Views
This view will get inherit in other views
from django.views.generic import TemplateView from web_project import TemplateLayout from web_project.template_helpers.theme import TemplateHelper """ This file is a view controller for multiple pages as a module. Here you can override the page view layout. Refer to auth/urls.py file for more pages. """ class AuthView(TemplateView): # Predefined function def get_context_data(self, **kwargs): # A function to init the global layout. It is defined in web_project/__init__.py file context = TemplateLayout.init(self, super().get_context_data(**kwargs)) # Update the context context.update( { "layout_path": TemplateHelper.set_layout("layout_blank.html", context), } ) return context -
login/view.py
from auth.views import AuthView
class LoginView(AuthView):
      def get(self, request):
         ...
      def post(self, request):
          ...
Register
Registration enables new Client to create an account in your application. They provide necessary information (Username,Email, Password) and credentials to become authenticated users. When Client register he get a verification email to verify his email address. Client can either verify his email or can skip the verification process.
Implementation
You can find the register view in auth/register/views.py. We created a registration form to
collect the necessary user information. This form handles input validation and data submission to the
database. with the input email it and with generated token it will send verification email to the user.
For generating token Materialize uses django build in import uuid
import uuid

token = str(uuid.uuid4())

print(token);
# 1b9d6bcd-bbfd-4b2d-9b5d-ab8dfbbd4bed
Email verification
It is important to verify the user email address while they create and account. So we have implemented email verification feature in Materialize Django Template. When a user register he get a verification email to verify his email address. User can either verify his email or can skip the verification process.
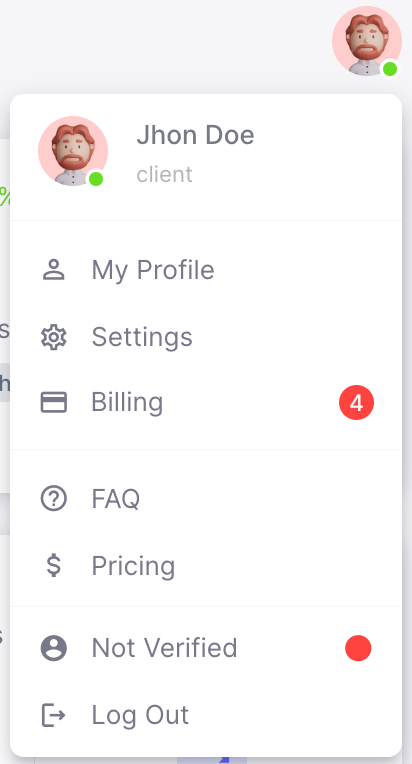
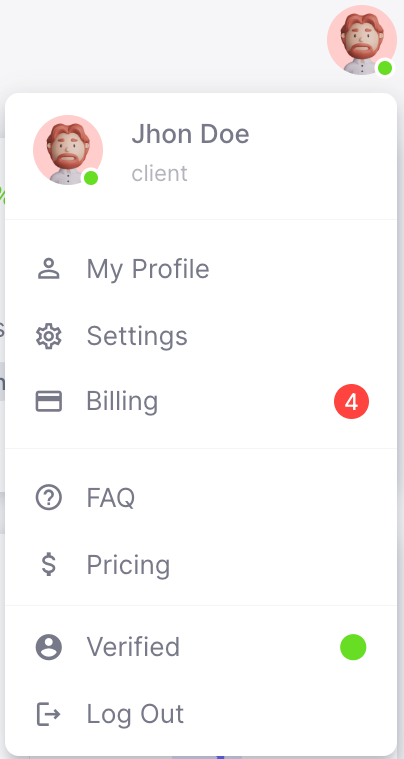
If a user chooses to skip email verification during registration, they can still verify their email later. To do so, they log in, click on their user icon in the top-right corner, select "Not Verified," and are redirected to the email verification page. On that page, they can click a button to send a verification email to their registered email address. This process ensures that users can complete email verification at their convenience, even if they initially skipped it during registration.


You can find the verify email view in auth/verify_email/views.py. This view contain 3 class
methods.
-
When a user clicks the verification link sent via email, this class is responsible for marking the user as verified and saving their verification status on database.
-
To display Verify email page
-
The last class is crucial as it contains the logic for resending the email verification link. This functionality is essential in two scenarios: when a user didn't receive the verification email after registration and clicks on the "resend" option, or when a user decides to verify their email after logging in.
Forgot Password
Forgot password feature allows user to reset password when needed. User can reset his password by providing his email address. When user provide his email address, they will get a reset password link to his email address. By clicking on the link user will be redirected to reset password page.
Implementation
You can find the forget password view in auth/forgot_password/views.py. We created a forgot
password form to collect the user email. This form handles input validation and data submission to the
database. with the input email it and with generated token it will send reset password email to the user.
Additionally, we create tokens with expiration times to enhance security.
Reset Password
When a user clicks on the "reset password" link from email, they will be directed to a dedicated "reset password" page. On this page, users have the opportunity to reset their password securely. In our Materialize template, user registration mandates the use of unique email addresses for each user. This uniqueness enables us to precisely identify the user associated with a particular email address. Thus, when a user initiates the password reset process, we can efficiently locate and update their password based on their registered email address.
Implementation
You can find the reset password view in auth/reset_password/views.py. Within this view, we've
implemented a user-friendly form designed to gather the user's new password securely. When a user submits
this form, our logic takes a straightforward approach: it identifies the user associated with the provided
email address and then proceeds to set the new password for that specific user. This method ensures a
streamlined and secure password reset process
Auth Helper
.env file based on the current stage or
environment of your project. As helpers.py file uses the BASE_URL to send mails.
We have created a Auth helper file which include helper function to send email. This function is located in
auth/helpers.py. This function is used to send email for verification, reset password and
forgot passwords.
For more information or understand the logic behind this py file follow this documentation
Important setup required for our Authentication to work
-
Important INSTALLED_APPS
INSTALLED_APPS = [ "django.contrib.auth", // for authentication "django.contrib.sessions", // for session "django.contrib.messages", // for flash messages ] -
Important MIDDLEWARE
This are pre installed when starting django project
MIDDLEWARE = [ "django.contrib.sessions.middleware.SessionMiddleware", "django.middleware.csrf.CsrfViewMiddleware", "django.contrib.auth.middleware.AuthenticationMiddleware", "django.contrib.messages.middleware.MessageMiddleware", ] -
Important Email Settings
For better understand of email setting follow this Documentation
Info: Use SMPT configuration from email service provider, for example if you are using gmail then use gmail smtp configuration.
How To Set Up Your Gmail SMTP Settings?EMAIL_BACKEND = "django.core.mail.backends.smtp.EmailBackend" EMAIL_HOST = "smtp.gmail.com" EMAIL_PORT = 587 EMAIL_USE_TLS = True EMAIL_HOST_USER = "Your email address" EMAIL_HOST_PASSWORD = "Your app password" -
Important Session data
For better understand of Session setting follow this Documentation
SESSION_ENGINE = "django.contrib.sessions.backends.db" SESSION_COOKIE_SECURE = True SESSION_COOKIE_HTTPONLY = True SESSION_COOKIE_SAMESITE = "Lax" SESSION_COOKIE_AGE = 3600 -
Some basic settings
You can add logout url and login url
LOGIN_URL = "/login/"             // login url for login required pages
LOGOUT_REDIRECT_URL = "/login/"  // logout url for when user logout
How to protect rout based on auth?
To protect routes based on authentication in Materialize django template, we used the
login_required decorator. To understand more about login decorator
documentation
There are 2 way to use this decorator in Materialize
-
In urls.py
from django.contrib.auth.decorators import login_required urlpatterns = [ path( "test/", login_required(TestView.as_view(template_name="test.html")), name="test", ), ] -
In view.py
from django.contrib.auth.decorators import login_required
from django.utils.decorators import method_decorator
from django.contrib.auth.decorators import login_required

@method_decorator(login_required, name='dispatch')
class TestView(TemplateView):
    ...