# Installation
# Prerequisites
TIP
This section will help you get ready in order to install the Vuexy Admin. Skip to the Installation section to start installing the template as we have already covered Prerequisites there.
# Node.js & NPM
First of all, make sure you have installed Node (opens new window) and npm (opens new window). We won't get in too much detail here as it's out of theme documentation scope. For more details refer to Downloading and installing Node.js and npm (opens new window)
# Angular CLI
Vuexy Admin is built using Angular CLI (opens new window). Angular CLI is nicely documented. You don't need to install or configure tools like Webpack or Babel. They are preconfigured and hidden so that you can focus on the code.
Simply Angular CLI makes it easy to create an application that already works, right out of the box. It already follows our best practices!
# GIT
To install and use Vuexy Admin, you will also need Git (opens new window) installed on your computer. Git is required for npm to work correctly.
# Installation
WARNING
Please make sure you use the node's LTS version which is recommended by the official node site and not one with the latest feature.
# Installing Prerequisites
- Download & install the latest(LTS) Node.js (opens new window) and npm (opens new window).
- Download and install the latest Git (opens new window).
- Install the Angular CLI: Open Terminal/Command Prompt and run the following command and wait until it finishes.
npm install -g @angular/cli
TIP
Refer CLI Overview and Command Reference (opens new window) for Angular CLI usage.
# Installing Vuexy Angular
Now, You are ready to install Vuexy Angular Admin. 🎉
- After downloading zip from ThemeForest, unzip it in your desired location.
- In the uncompressed folder you will find a folder named
angular-version/. In this a folder you will find Full Version(full-version.zip) and Starter Kit(starter-kit.zip). It also includes documentation.html (opens new window) file for live documentation for Vuexy Angular. - Extract starter-kit.zip/full-version.zip to your app folder. It's preferable to use Starter Kit in order to get started your project from scratch, for more details refer Starter-kit vs Full Package.
- Open Terminal/Command Prompt and navigate to your app folder and run the below command and wait until it finishes.
# Recommended using --legacy-peer-deps
npm install --legacy-peer-deps

# OR

npm install
TIP
Getting error Unable to resolve dependency tree errors.
Getting error FATAL ERROR: Ineffective mark-compacts near heap limit Allocation failed.
If you have any issues regarding installation please search your issue in our FAQ section for instant solution and still you can't find a solution, please follow our guide on getting support for our product.
The above command will install all the required Node.js modules into the node_modules directory inside your app folder. While installing this command you may see few warnings, don't worry about that for more details refer to our FAQ npm install warnings or installation warnings.
# Server
In your application folder, run the following command in Terminal/Command to run your application
ng serve --open
The --open (or just -o) option automatically opens your browser to http://localhost:4200/.
OR
ng serve
The ng serve command launches the server, watches your files, and rebuilds the app as you make changes to those files.
Now you will find some output after running above command in console as below:
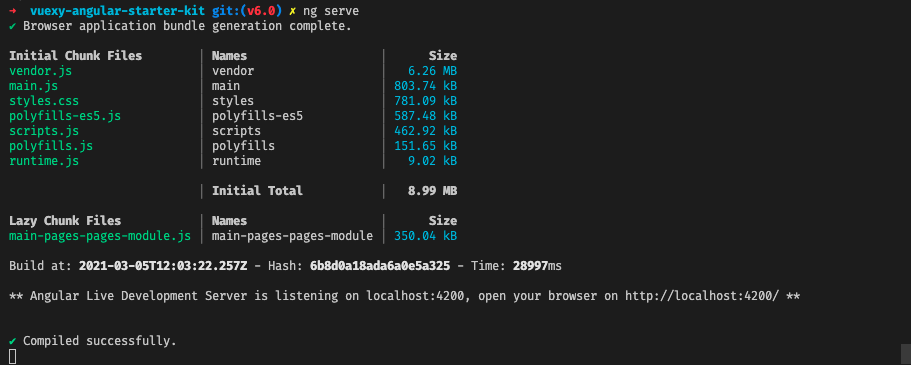
Open http://localhost:4200/ (opens new window) to check your application. 🚀
WARNING
If you have another process running at port 4200 then you might have some other URL (PORT) that screenshot.
If the default port 4200 is not available, you can specify another port with the port flag as in the following example:
ng serve --port 4201
To access the application in the the local network, this will allow your application to access all devices which are in the same network.
ng serve --host=0.0.0.0 --disable-host-check
TIP
Check package.json file for other available commands in Vuexy Admin.
# Deployment
When you are ready to deploy your Angular application to a remote server, you have various options for deployment.
# Basic deployment to a remote server
For the simplest deployment, create a production build and copy the output directory to a web server.
Start with the production build:
ng build --configuration production

## using npm
npm run build:prod
This command creates a
distfolder in the application root directory with all the files that a hosting service needs for serving your application.Copy everything within the output folder (
dist/vuexy/by default) to a folder on the server.Configure the server to redirect requests for missing files to index.html. Learn more about server-side redirects below (opens new window).
This is the simplest production-ready deployment of your application.
TIP
When you are ready to deploy your Angular application to a remote server, refer official guide for deployment (opens new window).
# Running unit tests
Tests will execute after a build is executed via Karma (opens new window), and it will automatically watch your files for changes.
You can run tests a single time via --watch=false or --single-run
ng test
# Running end-to-end tests
Before running the tests make sure you are serving the app via ng serve. End-to-end tests are run via Protractor (opens new window).
ng e2e