# Form Wizard
The bs-stepper component is slightly modified to make it more beautiful. Let's have a glance.
TIP
For more information on bs-stepper you can visit official page from here (opens new window)
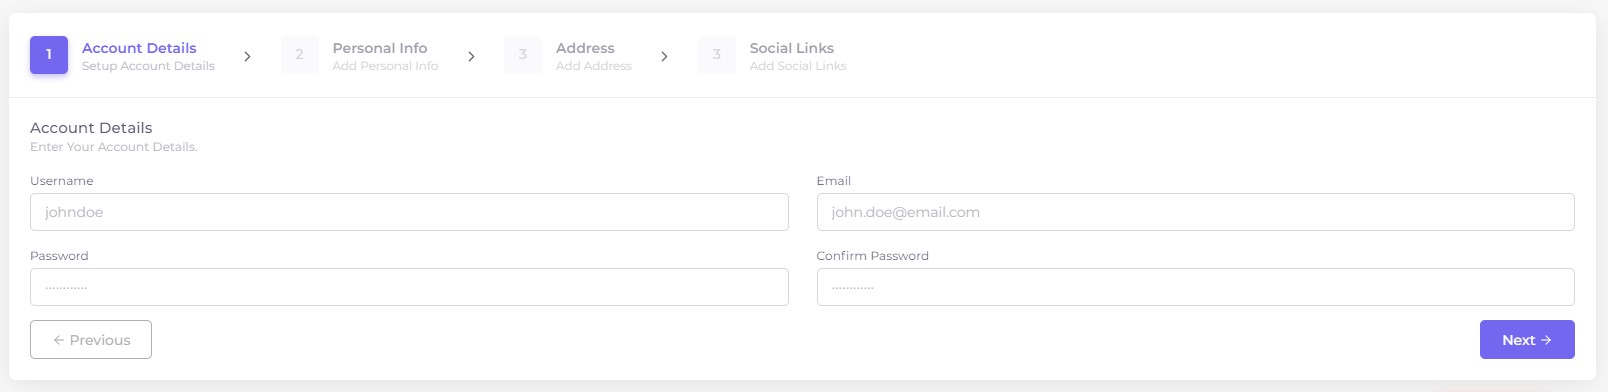
# Basic Wizard
We have modified the look of the wizard as per the template theme.
Result:
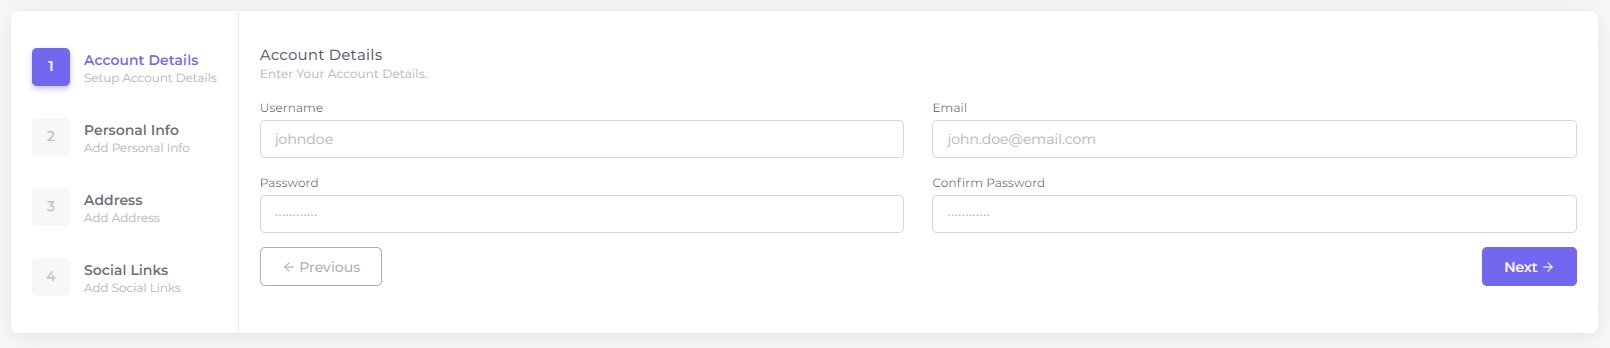
# Vertical Wizard
Add class .vertical along with class .bs-stepper to get vertical Wizard.
Result:
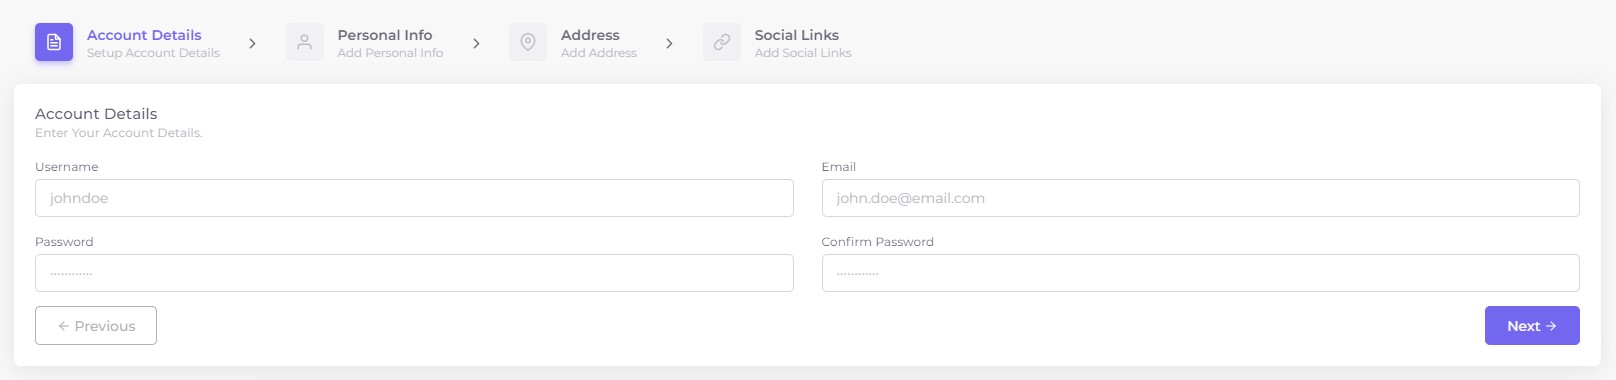
# Horizontal Modern wizard
Add class .wizard-modern along with class .bs-stepper to get vertical Wizard.
Result:
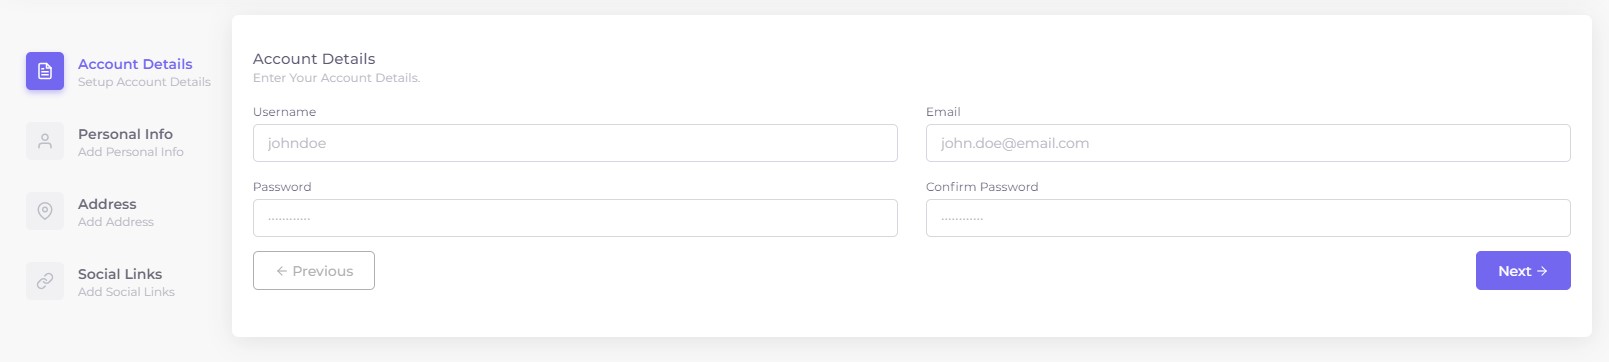
# Vertical Modern Wizard
Add class .vertical.wizard-modern along with class .bs-stepper to get vertical Wizard.
Result:
# Usage
To use bs-stepper we need to initialize the Stepper.
<div id="stepper1" class="bs-stepper horizontal-wizard-example">
  <div class="bs-stepper-header">
    <div class="step" data-target="#account-details">
      <button class="step-trigger">
        <span class="bs-stepper-box">1</span
        ><span class="bs-stepper-label"
          ><span class="bs-stepper-title">Account Details</span
          ><span class="bs-stepper-subtitle">Setup Account Details</span></span
        >
      </button>
    </div>
    <div class="line"><i data-feather="chevron-right" class="font-medium-2"></i></div>
    <div class="step" data-target="#personal-info">
      <button class="step-trigger">
        <span class="bs-stepper-box">2</span
        ><span class="bs-stepper-label"
          ><span class="bs-stepper-title">Personal Info</span
          ><span class="bs-stepper-subtitle">Add Personal Info</span></span
        >
      </button>
    </div>
  </div>
  <div class="bs-stepper-content">
    <form (ngSubmit)="(HWForm.form.valid)" #HWForm="ngForm">
      <div id="account-details" class="content">
        <form #accountDetailsForm="ngForm">
          <div class="content-header">
            <h5 class="mb-0">Account Details</h5>
            <small class="text-muted">Enter Your Account Details.</small>
          </div>
        </form>
      </div>
      <div id="personal-info" class="content">
        <form #personalInfoForm="ngForm">
          <div class="content-header">
            <h5 class="mb-0">Personal Info</h5>
            <small>Enter Your Personal Info.</small>
          </div>
        </form>
      </div>
    </form>
  </div>
</div>
import Stepper from 'bs-stepper';
...
...

private horizontalWizardStepper: Stepper;

...
...
...

ngOnInit() : void {
  this.horizontalWizardStepper = new Stepper(document.querySelector('#stepper1'), {});
}
# Integration with ngModel
We have used [(ngModel)] that creates a FormControl instance from a domain model and binds it to a form control element.
TIP
The [(ngModel)] instance tracks the value, user interaction, and validation status of the control and keeps the view synced with the model
_Example : _
We have an input filed with name & email. We will bind the name & email input field with ngModel.
<input [(ngModel)]="nameVar" type="email" name="email" class="form-control" />

<input [(ngModel)]="emailVar" email type="email" name="email" class="form-control" />
public nameVar = '';
public emailVar = '';
Now, you can dynamically update the nameVar & emailVar as per your usage. We can also update the variables as of API response.
You can find all demos on this (opens new window) page.